CloudLinuxインストール
AlmaLinuxインストール
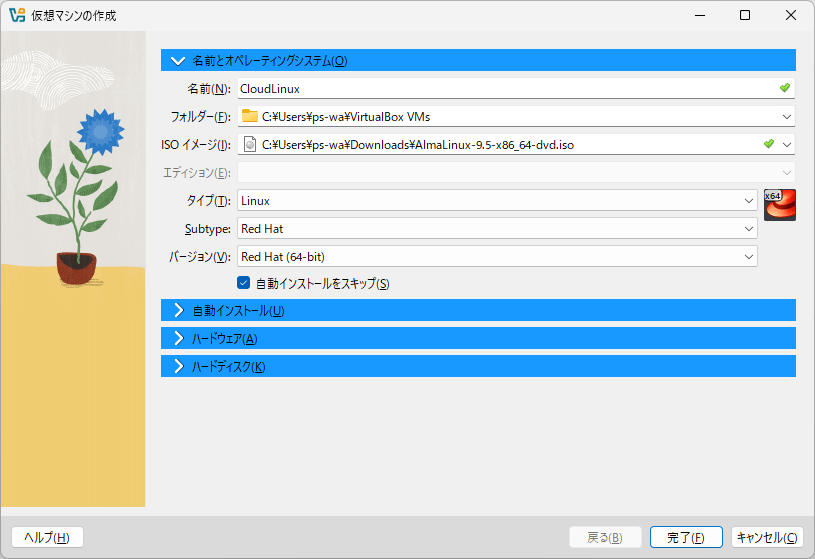
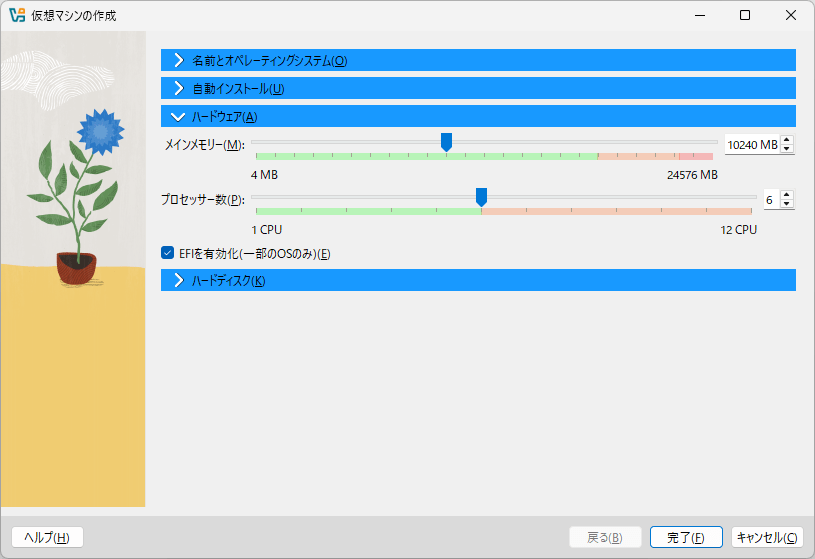
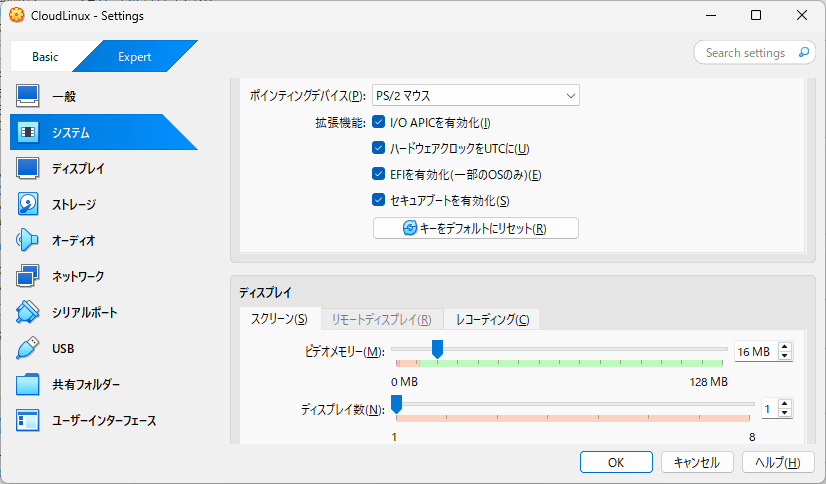
VirtualBox設定
ISOファイルからインストールを行う
「EFIを有効化」にチェックを入れる
Expert設定にて、「セキュアブートを有効化」にチェックを入れる
ネットワークアダプターをブリッジアダプターに変更する(任意)

AlmaLinuxインストール
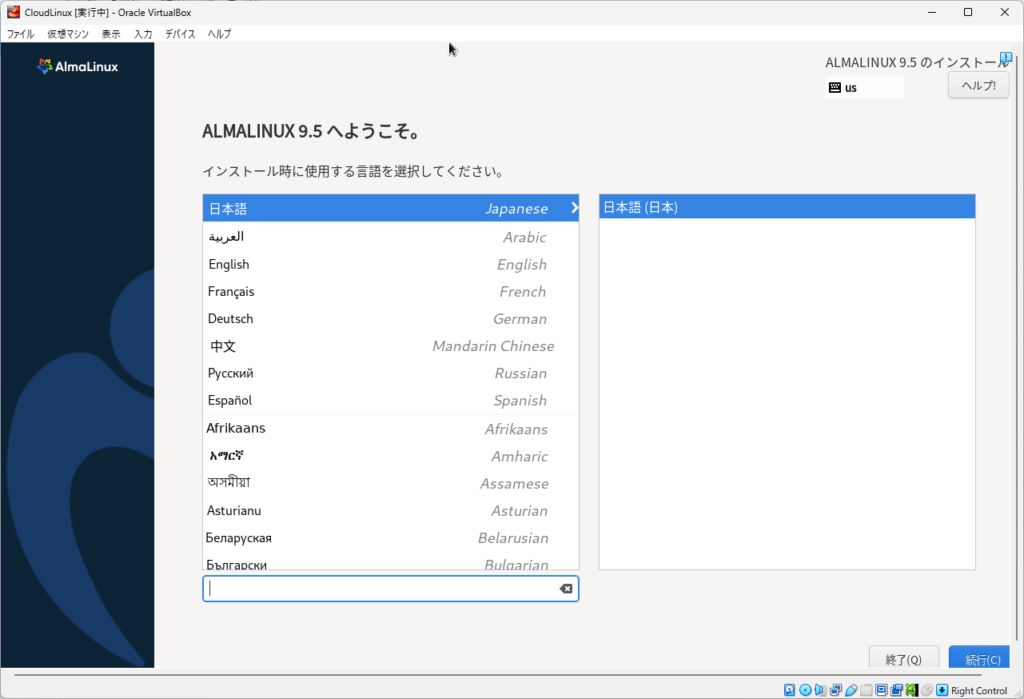
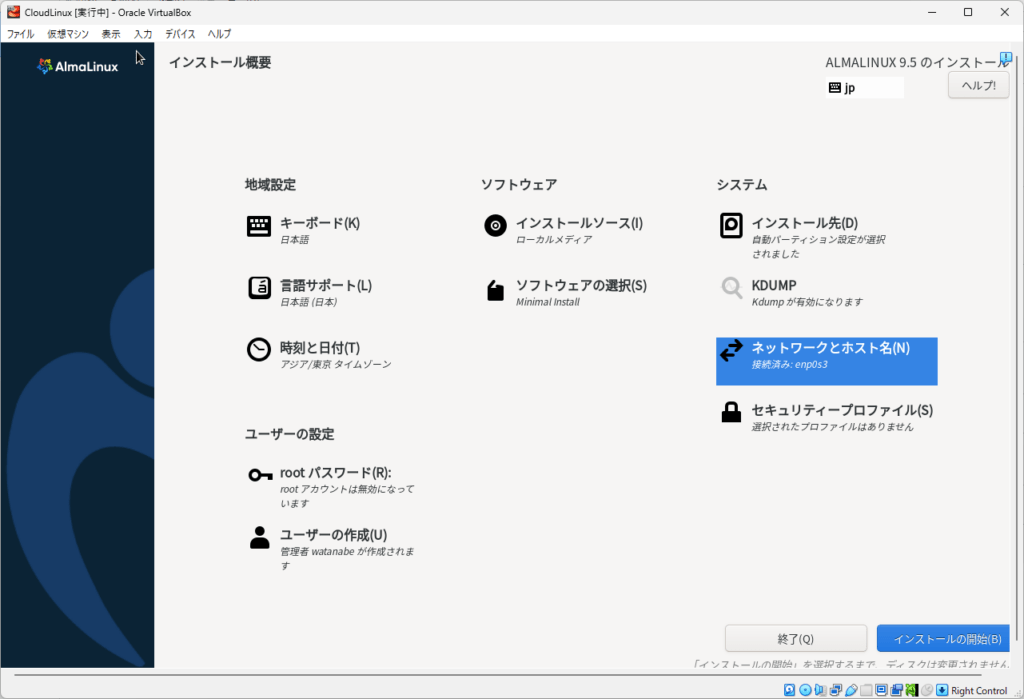
VirtualBoxを起動して、AlmaLinuxインストーラーを起動する。
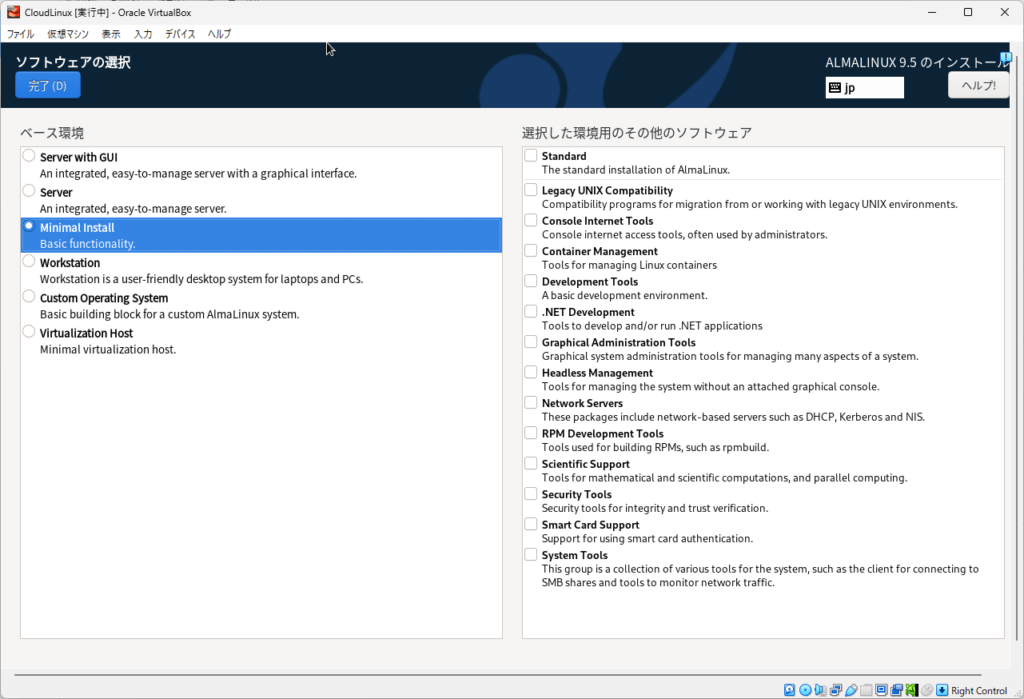
インストールタイプとして、「Minimal Install」を選択する。
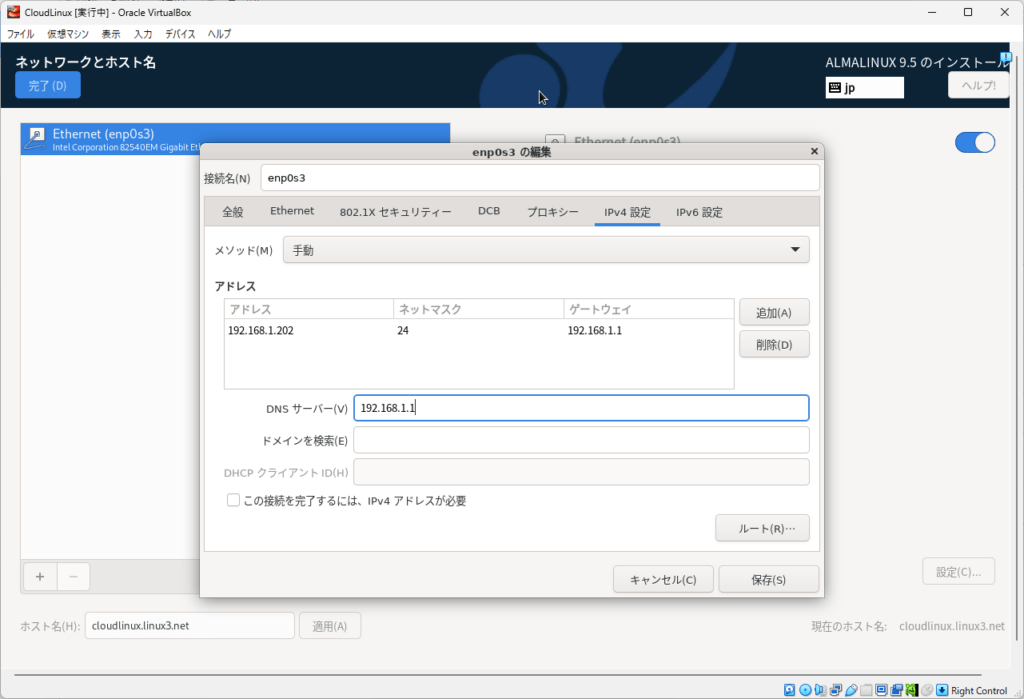
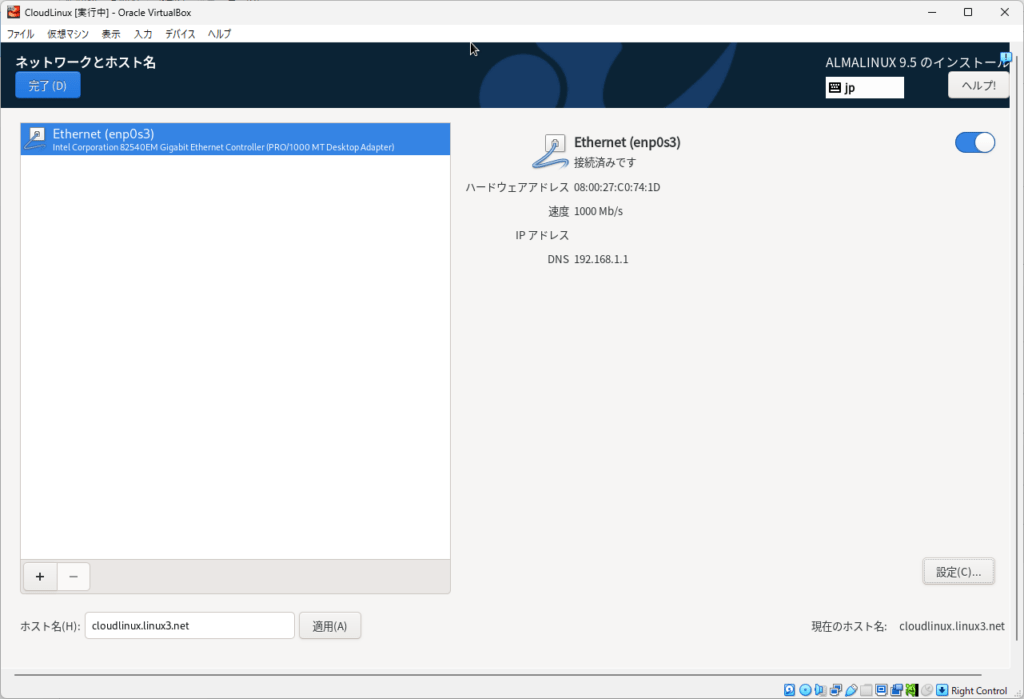
IPアドレスを設定する
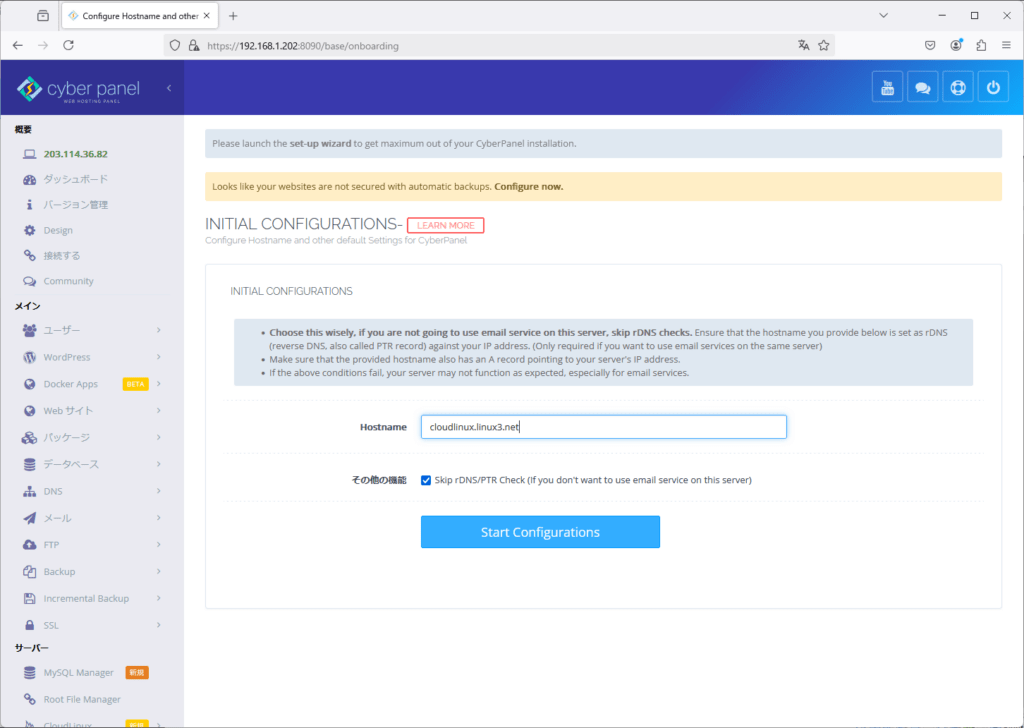
ホスト名を設定する
インストール前確認
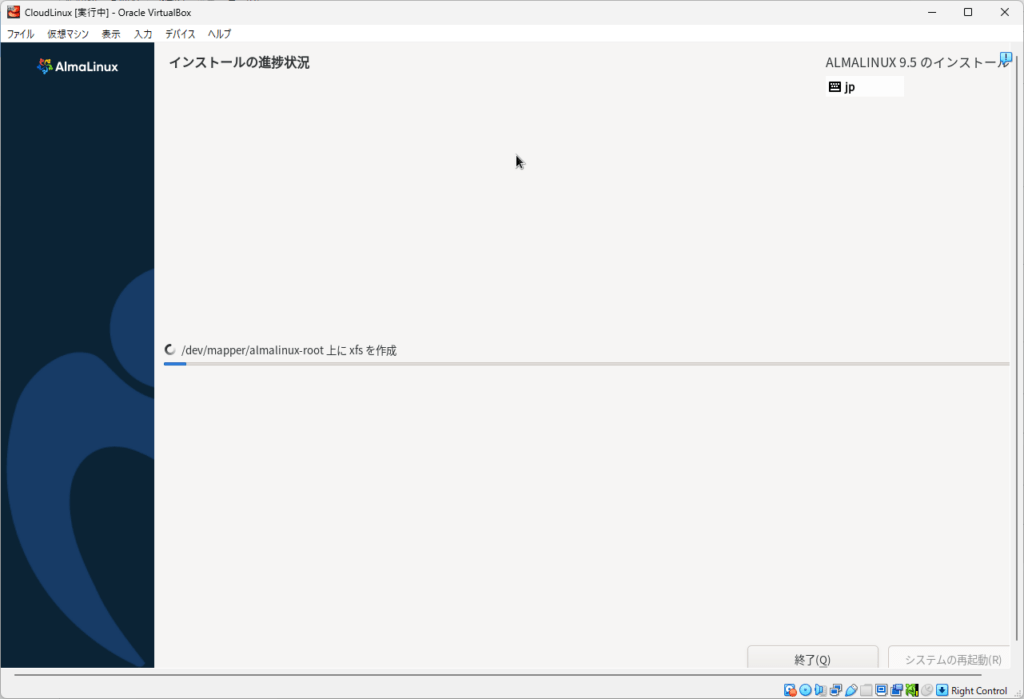
インストール実行
インストール後調整
面倒なのでsudo時にNOPASSWDにする。(任意)
[root@cloudlinux ~]# cp /etc/sudoers /etc/sudoers.orig
[root@cloudlinux ~]# vi /etc/sudoers
[root@cloudlinux ~]# diff /etc/sudoers.orig /etc/sudoers
107c107
< %wheel        ALL=(ALL)       ALL
---
> # %wheel      ALL=(ALL)       ALL
110c110
< # %wheel      ALL=(ALL)       NOPASSWD: ALL
---
> %wheel        ALL=(ALL)       NOPASSWD: ALL
最新化
[root@cloudlinux ~]# dnf update -y
[root@cloudlinux ~]# reboot
CyberPanelインストール
CyberPanelインストール
[root@cloudlinux ~]# sh <(curl https://cyberpanel.net/install.sh || wget -O - https://cyberpanel.net/install.sh)
% Total % Received % Xferd Average Speed Time Time Time Current
Dload Upload Total Spent Left Speed
100 2572 100 2572 0 0 2932 0 --:--:-- --:--:-- --:--:-- 2929
Detecting AlmaLinux 9...
Initializing...
Fetching latest data from CyberPanel server...
This may take few seconds...
Branch name fetched...v2.3.9
Checking root privileges...
You are runing as root...
Valid IP detected...
Checking server location...
Desktop OS not detected. Proceeding
System: AlmaLinux 9 detected...
Checking virtualization type...
Initialized...
CyberPanel Installer v2.3.9
1. Install CyberPanel.
2. Exit.
Please enter the number[1-2]: 1
CyberPanel Installer v2.3.9
RAM check : 451/9669MB (4.66%)
Disk check : 1/17GB (11%) (Minimal 10GB free space)
1. Install CyberPanel with OpenLiteSpeed.
2. Install Cyberpanel with LiteSpeed Enterprise.
3. Exit.
Please enter the number[1-3]: 1
Install Full service for CyberPanel? This will include PowerDNS, Postfix and Pure-FTPd.
Full installation [Y/n]: Y
Full installation selected...
Do you want to setup Remote MySQL? (This will skip installation of local MySQL)
(Default = No) Remote MySQL [y/N]: N
Local MySQL selected...
Press Enter key to continue with latest version or Enter specific version such as: 1.9.4 , 2.0.1 , 2.0.2 ...etc
Branch name set to v2.3.9
Please choose to use default admin password 1234567, randomly generate one (recommended) or specify the admin password?
Choose [d]fault, [r]andom or [s]et password: [d/r/s]
Admin password will be provided once installation is completed...
Do you wish to install Memcached process and its PHP extension?
Please select [Y/n]: Y
Install Memcached process and its PHP extension set to Yes...
Do you wish to install Redis process and its PHP extension?
Please select [Y/n]: Y
Install Redis process and its PHP extension set to Yes...
Would you like to set up a WatchDog (beta) for Web service and Database service ?
The watchdog script will be automatically started up after installation and server reboot
If you want to kill the watchdog , run watchdog kill
Please type Yes or no (with capital Y, default Yes):
Y
26 ファイルが削除されました
引数に一致する結果がありません: epel-release
削除対象のパッケージはありません。
依存関係が解決しました。
行うべきことはありません。
完了しました!
./cyberpanel.sh: 行 852
(略)
###################################################################
CyberPanel Successfully Installed
Current Disk usage : 8/17GB (50%)
Current RAM usage : 1208/9669MB (12.49%)
Installation time : 0 hrs 22 min 0 sec
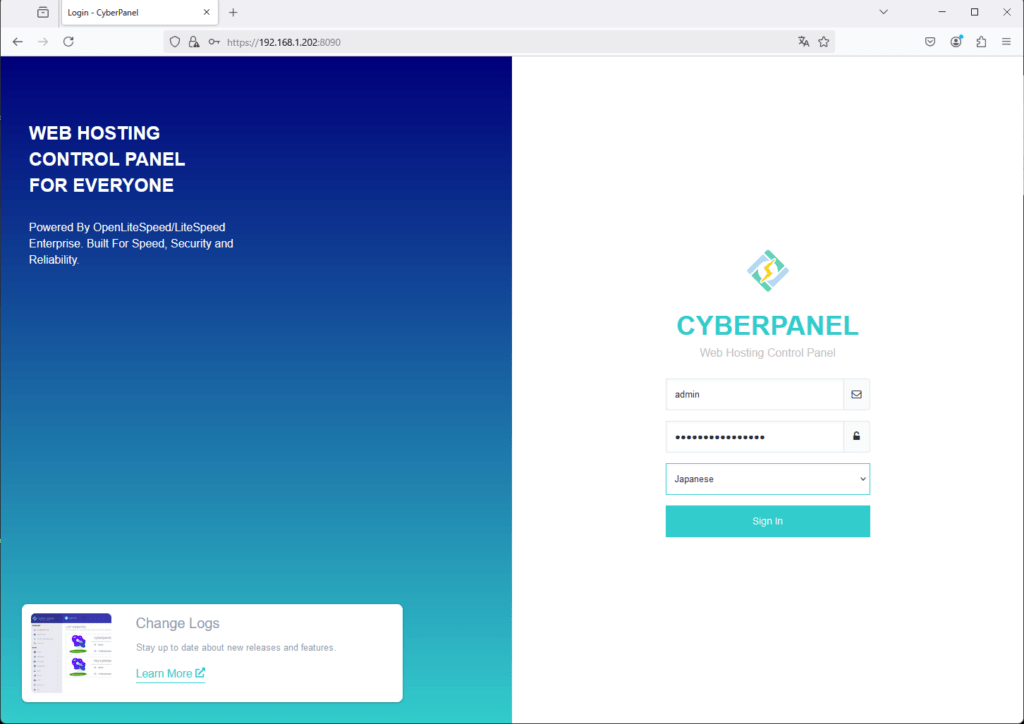
Visit: https://192.168.1.202:8090
Panel username: admin
Panel password: XTC8xF5UfyFjrsyu
Run cyberpanel help to get FAQ info
Run cyberpanel upgrade to upgrade it to latest version.
Run cyberpanel utility to access some handy tools .
Website : https://www.cyberpanel.net
Forums : https://forums.cyberpanel.net
Wikipage: https://docs.cyberpanel.net
Docs : https://cyberpanel.net/docs/
Enjoy your accelerated Internet by
CyberPanel & OpenLiteSpeed
###################################################################
If your provider has a network-level firewall
Please make sure you have opened following port for both in/out:
TCP: 8090 for CyberPanel
TCP: 80, TCP: 443 and UDP: 443 for webserver
TCP: 21 and TCP: 40110-40210 for FTP
TCP: 25, TCP: 587, TCP: 465, TCP: 110, TCP: 143 and TCP: 993 for mail service
TCP: 53 and UDP: 53 for DNS service
Would you like to restart your server now? [y/N]:N
[root@cloudlinux ~]# reboot
Cyberpanel確認
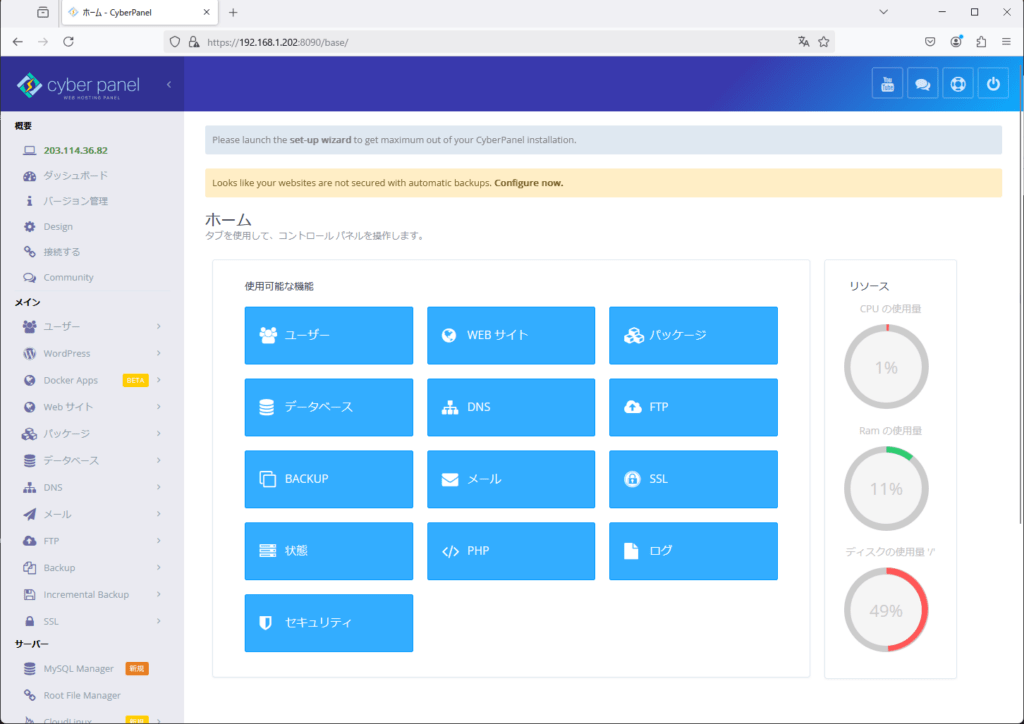
初期設定
CloudLinux設定
アクティベーション
[root@cloudlinux ~]# wget -q https://repo.cloudlinux.com/cloudlinux/sources/cln/cldeploy
[root@cloudlinux ~]# bash cldeploy -k CLS-upQgiOyOQxnqNkmMhBlGTtoO
Last available CloudLinux release: 9.5
(略)
Please reboot the server to apply the changes
You can find complete log in /var/log/cldeploy.log
[root@cloudlinux ~]# /sbin/reboot
BootKey読み込み
[root@cloudlinux ~]# wget -q https://repo.cloudlinux.com/cloudlinux/SECURE-BOOT-KEY-cloudlinux-kmod.der
[root@cloudlinux ~]# mokutil --import SECURE-BOOT-KEY-cloudlinux-kmod.der
input password: password
input password again: password
[root@cloudlinux ~]# /sbin/reboot
PHP Selectorインストール
[root@CloudLinux ~]# yum groupinstall alt-php -y
Cagefsインストール
[root@CloudLinux ~]# yum install cagefs -y
[root@CloudLinux ~]# /usr/sbin/cagefsctl --init
Mode: Disable All
Creating symlink /usr/share/cagefs-skeleton/bin to usr/bin
Copying /usr/bin/selectorctl to /usr/share/cagefs-skeleton/usr/bin/selectorctl
(略)
Copying /usr/share/ghostscript/lib/winmaps.ps to /usr/share/cagefs-skeleton/usr/share/ghostscript/lib/winmaps.ps
Copying /usr/share/ghostscript/lib/zeroline.ps to /usr/share/cagefs-skeleton/usr/share/ghostscript/lib/zeroline.ps
Updating users ...
Updating statuses of users ...
Error: CloudLinux Selector setup, path: /etc/php.ini
Error: CloudLinux Selector setup error for path: /usr/bin/php-cgi
Error: /usr/local/lsws/lsphp80/bin/php is mounted to CageFS. CloudLinux Selector will not be available.
\ Get the latest news /